
|

|
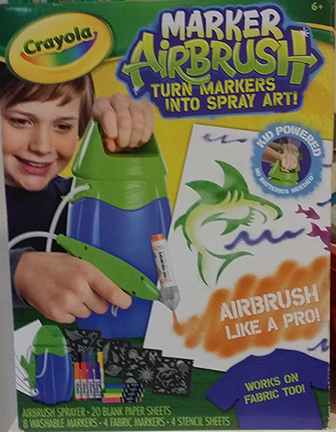
Usually, I'm a fan of everything Crayola, but unfortunately, I was pretty disappointed with the Crayola marker airbrush.
It says "airbrush like a pro," but honestly, I had such a difficult time using this thing that I'm considering returning it. I even bought more markers to see if that would help, but it didn't.
Click the title of the article "Crayola Marker Airbrush" above, or "Read More" below to see more details on using this crayola marker airbrush.
Crayola Marker Airbrush - Don't think it's worth it
For as long as I can remember, the Crayola logo has held a special place in my heart. Crayons, Coloring books, markers, colored pencils, anything Crayola has brought nothing but joy to my life. Unfortunately, however, this was not the case with the Crayola Marker Airbrush.
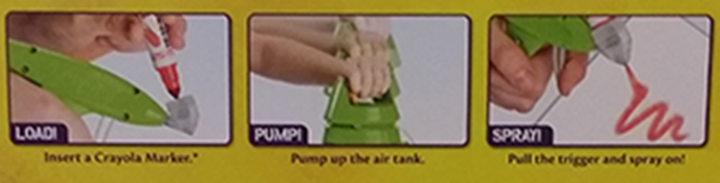

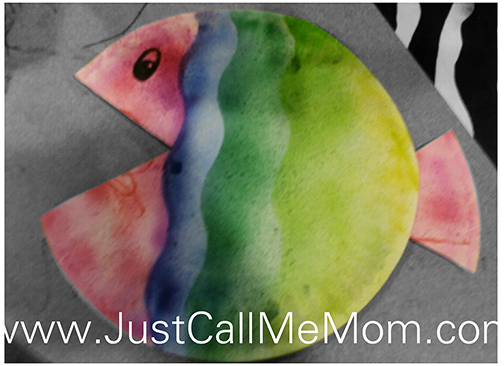
I was so excited to bring this marker airbrush home to use with my son, we did end up creating a colorful paper plate fish, but it took FOREVER. The directions make it sound like it's "as easy as 1,2,3," but Not. Even. Close.
Step 1. Load.
First of all, you have to shove the marker into the airbrush, then you have to twist the marker lock to keep the marker in place. If the marker comes out at all, or if you don't twist the lock tight enough, it won't spray. Also, if you don't have the marker in at the right angle, it won't spray. Annoying, yes, but shouldn't be that big of a deal. Which brings us to...
Step 2. Pump.
You have to pump the thing 15-20 times before each "spray." So when the marker fails to spray, you end up using up the air you've built up and have to pump it all over again. It takes two hands to pump one to work the pump, and one to hold the tank. When you're pumping, unless you've got 3 hands, you've got to set the marker down. Again, this wouldn't be so bad, but the hose from the airbrush to the tank isn't very long, so you have to reset the marker into the airbrush again and hope it's at the correct angle and tightened just right or you get to start the process all over again.
Step 3. Spray.
Yeah, hopefully. I had to do the load and pump steps WAY more than I got to spray. The airbrush came with markers, and I considered them to be "the issue." I bought brand new markers, and they still didn't work correctly. When the markers did work, the picture was actually really neat, but sometimes they would shoot out a blob of ink instead of a spray. Noah, my toddler, colored with markers in some areas, but you can see where the ink "puddled" or spit out of the airbrush instead of sprayed.
 RSS Feed